|
| Black and white photograph for restoring. |
In this tutorial, you will learn how to
restore a damaged Black and white photograph by using tools you would find in Photoshop.
Step 1
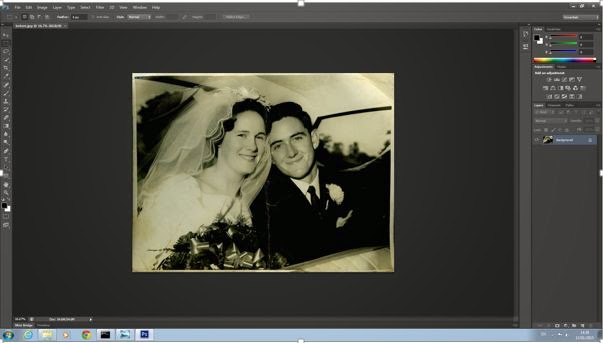 |
| The photograph that was picked |
I looked around for an old Photograph with as much damage to it as I could. I settled on this picture of a Man and Women on their wedding day.
Step 2
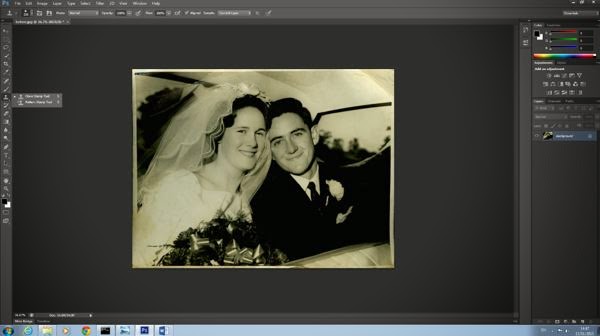 |
| Touching up using the Clone stamp tool |
Using the “Clone stamp tool”. I clicked ALT + left click on the area that had a bit of colour (Note. This should be as close to the rip and tear as possible) and once the colour was selected I stared clicking on the tears and rips, bringing the colour to them.
Step 3
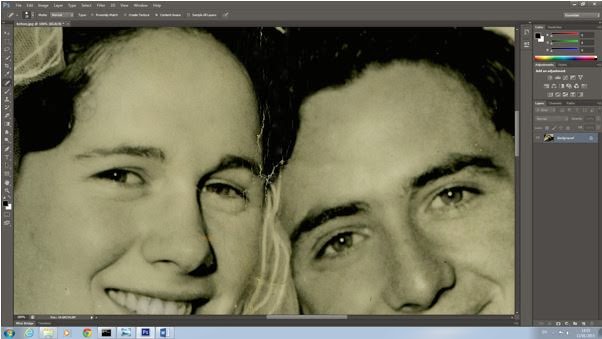
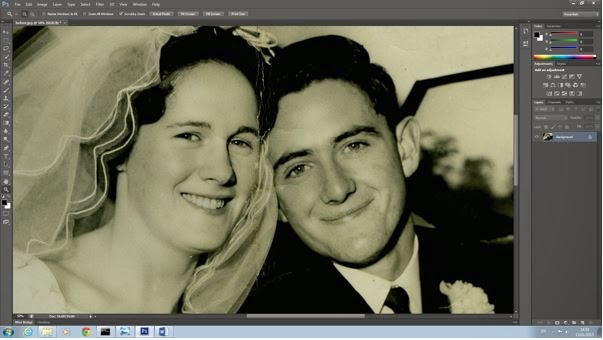 |
| Fixing the big tear. |
I picked a part on the photo which was the most damaged, which was the two faces and I planned out what I would have to do and what tools I would have to use.
Step 4
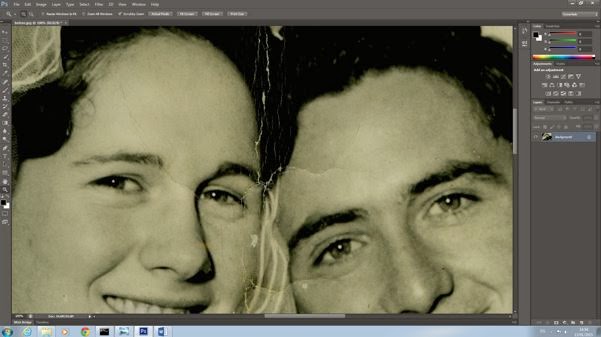 |
| Using the spot healing tool. |
I zoomed in on the biggest part of the tear, which was the tear by the lady’s eye and I fixed it up using the spot healing tool and the clone stamp tool. The spot healing tool is for smaller rips and tears. While the spot healing tool is selected find the area you want to fix. Click several times around the rip and tear and the colour should be brought into the rip and tear.
Step 5
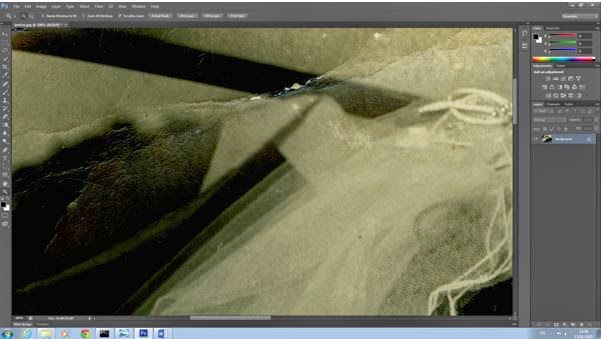
 |
| The lace shawl |
I used the clone stamp on the tears and when I was finished I used the spot healing tool on the patch by the lace on her shawl.
Step 6
 |
| The roof of the car. |
I then picked the tear up by the back window of the car and again I used the clone stamp and spot healing tool and I was able to get the tear to look like the roof again
Step 7
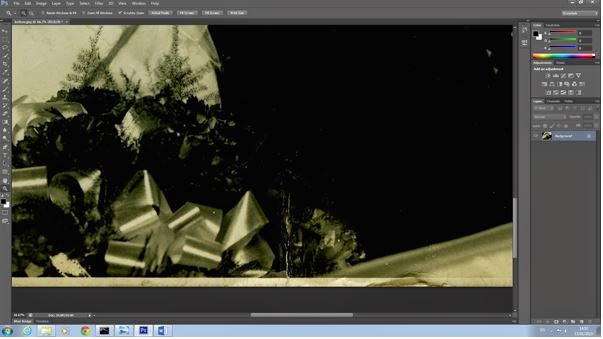 |
| The bouquet of flowers |
After that I moved down to the tear just by the bouquet of flowers and zoomed very close to the tear and spot healed it once more.
Step 8
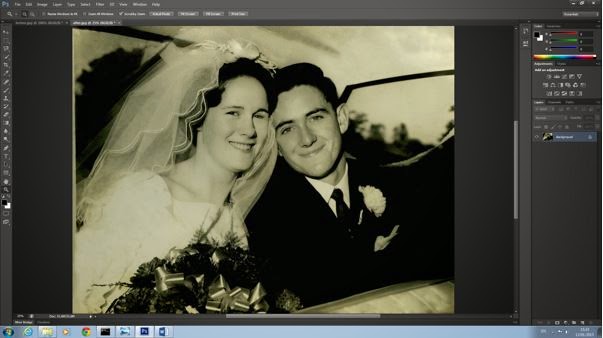 |
| The finished product. |
I used a magnetic lasso which is a tool that automatically clicks around the edge of a colour/graphic. I used this tool to circle their faces and I used a noise reduction filter and this is the finished product.
BEFORE
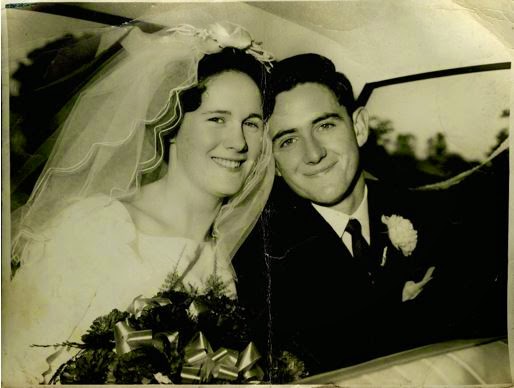 |
| Black and white photograph with rips and tears. |
AFTER
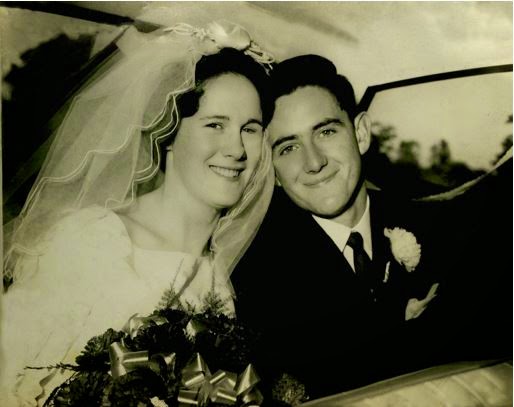 |
| Black and white photo after its restoration. |
If, after restoring the photo you would like to try your hard at converting it in a full colour image (thats right you can colourise black and white photos) then try our tutorial on
How To Colourise A Black and White Photo
 Reviewed by Opus Web Design
on
March 06, 2015
Rating:
Reviewed by Opus Web Design
on
March 06, 2015
Rating: