In Blender, we'll be making hair by using the 'Particles' tab. You can use hair in a lot of different ways, whether it is for making a simply rug for a room scene, or designing your own 3D character for a game. As it can be used in a wide range of different ways to create different outcomes.
We'll also take a look at the tools we use to shape and change the hair in Blender, and I'll explain each so that you will have more control over how you want the hair to appear in it's final render.
 |
| Hair in Blender |
Step 1: Open a new project
To begin, I'm going to open a new project and delete the default cube that appears. You can use this if you like, but for now I'll be using a UV Sphere, in order to create hair on a sample head shape.
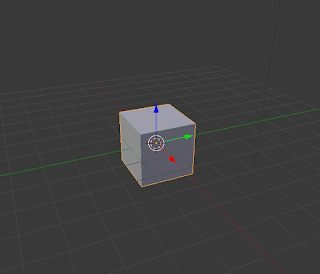 |
| New Project |
 |
| UV Sample scaled up slightly on 'Z' axis |
If you'd like to do the same as me, or perhaps use a different shape, use shift + A, and select a shape from the 'Mesh' dropdown. You can also 'scale' the shape to a different size by pressing the 'S' key, followed by whichever axis you want to scale it along (X, Y or Z), or just use your mouse to manually resize it.
Step 2: Vertex Groups
In order for hair to be placed correctly on the head, there needs to be a section where we can apply it to directly, like how hair grows from the scalp on our heads. To do this, we need to create a 'Vertex Group'. To begin, select the 'Object Data' menu on the right hand side of the screen.
 |
| Select 'Object Data', which is highlighted |
Before we do anything in this tab, we need to go into 'edit mode' (tab), and select whereabouts we want our 'scalp' to be. To do this quickly, once you are in edit mode, hit the 'C' key and use this to highlight the scalp on your head or object. If you wants to 'Deselect' any parts, use shift + click after hitting you 'C' key. Once you have finished selecting your scalp, it should appear something like this;
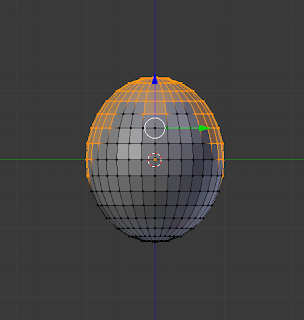 |
| 'Scalp' selected |
Now that we've selected the area in which we want our hair to grow from, we need to go to the 'Vertex Group' dropdown in the 'Object Data' tab we had previously selected. It should look like this:
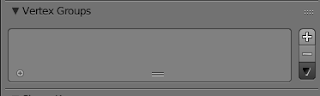 |
| Vertex Group dropdown |
Select the '+' symbol to add a new group, and double-click it to rename it 'Scalp'. With this group now created, and the scalp selected on the actual object, we can now press 'Assign'. This action will ensure that this section in particular can be selected as the origin of hair on our object.
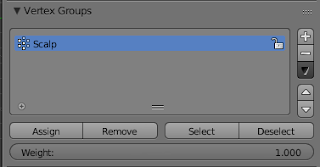 |
| Assign the selected vertices on the object to this group |
You can now go back into object mode by hitting the tab key again.
Step 3: Particles and Adding Hair
Using the 'Particles' tab, we can now create the hair on the object. Go into the 'Particles' tab, which is located on the same bar as the 'Object Data' tab we had previously selected.
 |
| Select 'Particles', which is highlighted |
Once inside this, select the 'New' button. Upon doing this, you should see the following menu show up:
 |
| After selecting 'New' |
I began by renaming the particles system from 'ParticleSystem' to 'Hair'. I then also renamed the 'ParticleSettings' to 'Hair' as well.
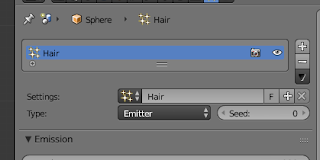 |
| Renamed 'Hair' |
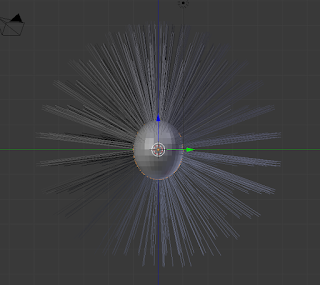
As you can see, underneath the 'Settings' is the 'Type' selection. Select the 'Emitter' selection and change it to 'Hair'. Immediately after you do this, you'll see that your object will suddenly sprout out hairs from all over itself, as opposed to the section we had previously assigned, such as shown below.
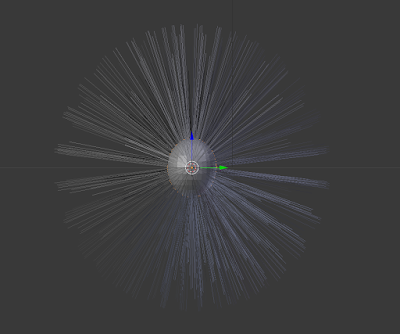 |
| Hair appears from everywhere on object |
To quickly change this so that it only on the 'Scalp' we had created earlier, scroll down on the Particles tab until you find the 'Vertex Groups' dropdown, and open it. Once you do this, you'll see a selection of groups. All we have to do here is select the 'Density' option, and select the group we had created earlier. My one was called 'Scalp'.
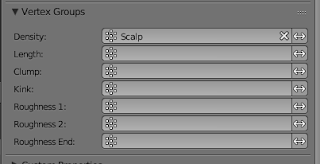 |
| Vertex Group dropdown |
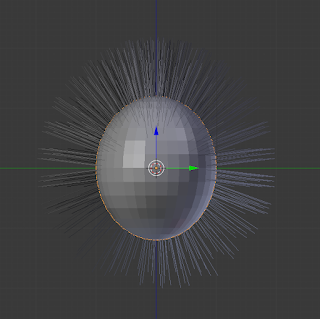
As soon as you select your group on 'Density', the hair on your object will only originate from the scalp we had created earlier.
 |
| Hair now only originates from selected scalp |
Step 4: Editing the Hair
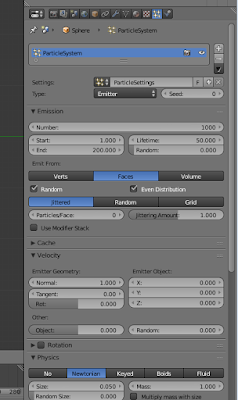
Personally speaking, I find that working with long hair to begin with is extremely hard. For this tutorial, We'll start by working with shorter hair than the default length we were given. To change the length, scroll up on the 'Particles' tab until you find the 'Emission' dropdown. Underneath this you'll see 'Number' and 'Hair Length'. The 'Number' is the amount of parent hairs on the hair so far, and it's default number is '1000'. I left it at '1000' and changed the 'Hair Length' down to '1'.
 |
| Hair length changed to 1 |
Once you have completed this, go to the 'Render' dropdown. You will see 'Steps' at the bottom of this dropdown. Bump up the number of steps to '6'.
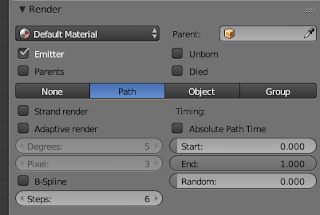 |
| Change steps to 6 in Render dropdown |
Then, underneath the 'Display' dropdown, which should be located directly underneath the 'Render' dropdown, change the 'Steps' to '6' as well.
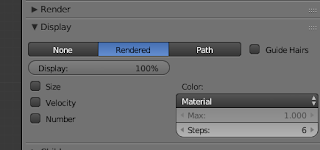 |
| Change steps to 6 in Display dropdown |
This next part is a vital part of creating your hair. In the 'Children' dropdown, you will find three options; 'None', 'Simple' and 'Interpolated'.
 |
| Children dropdown |
If you select 'Simple' or 'Interpolated', you will find that the object produces a larger mass of hair from the '1000' parents hairs already present on the object. The 'Interpolated' selection takes longer to render, but is of a higher quality. Select 'Interpolated'.
Your object should look something like this;
 |
| Interpolated in 'Children' dropdown |
Immediately underneath the three selections, after selecting 'Interpolated', change the 'Display' number to '25', and the 'Render' number to '25'.
Step 5: Tools
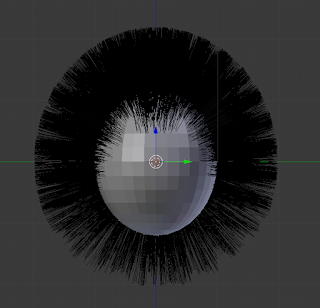
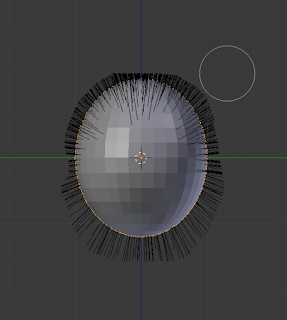
Once you've finished preparing the hair in the 'Particles' tab, we can now begin editing the hair to any sort of style or shape we like. To do this, we will need to go from 'Object Mode' to 'Particle Edit' by selecting the interaction at the bottom of the screen, and selecting 'Particle Edit'. Once you enter this, the hair should go back to only showing the 1000 parent hairs, as well as a tool menu on the left with the 'Brush' and 'Options' dropdowns.
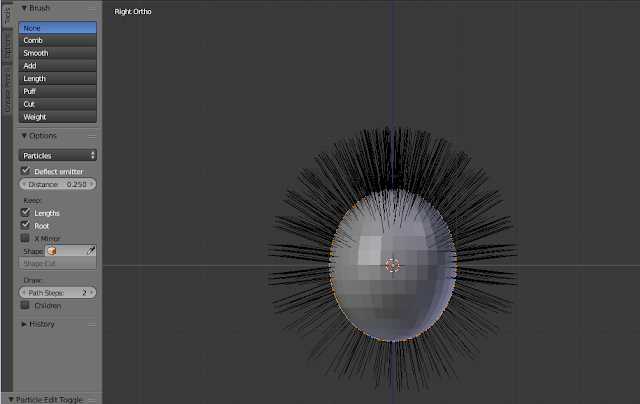 |
| Particle Edit mode |
Before we begin editing the hair, we should go through each option in the 'Brush' dropdown.
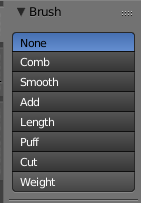 |
| Brush options |
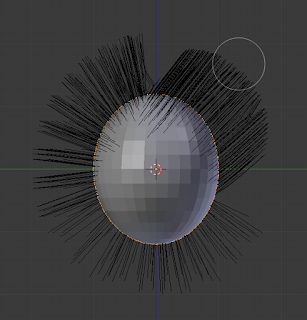
Comb:
The 'Comb' option allows us to literally comb the hair we have previously created, and place it in a huge variety of shapes and styles manually.
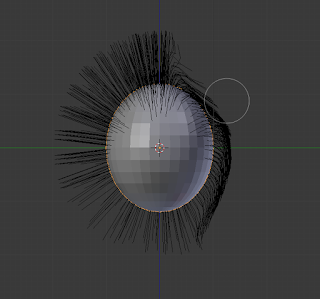 |
| Comb tool |
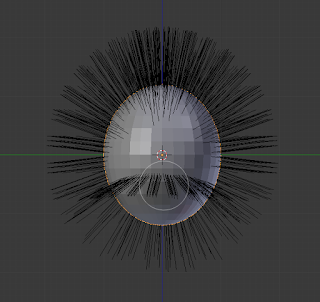
Smooth:
The 'Smooth' tool is used in order to neaten out a part of the hair, for example, if you wanted the hair to all go one way, however it is not, you would use the 'Smooth' tool over the section in order to smooth it out.
 |
| Smooth tool |
Add:
The 'Add' tool is used to add more hairs in places where you may want more, or if there are blank patches on your object that you want filled in more.
 |
| Add tool |
Length:
The 'Length' tool simply extends the length of selected hairs.
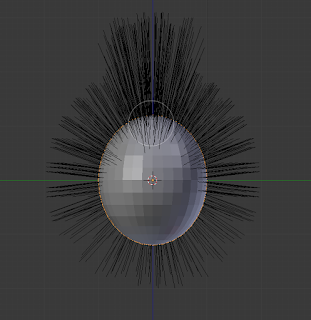 |
| Length tool |
Puff:
The 'Puff' tool would essentially give the hair more volume, and puff it up if you want it bigger.
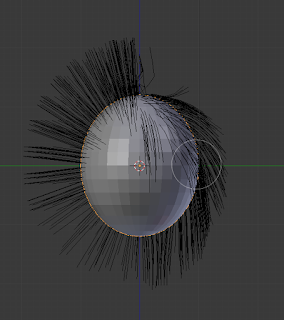 |
| Puff tool |
Cut:
The 'Cut' tool simply cuts the hair shorter.
 |
| Cut tool |
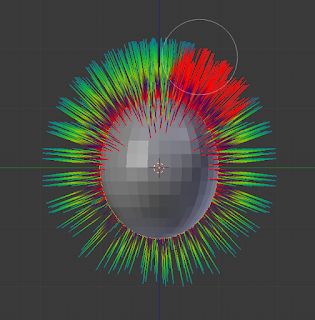
Weight:
The 'Weight' tool is used in animating the hair, and is used to weigh the hair down.
 |
| Weight tool |
Step 6: Using the Tools
Now that you're well acquainted with the tools used to style your hair, you can start styling it. If you want a better idea of how the hair will look when it is rendered, you can check the 'Children' box under the 'Options' menu on the left. This will make the 'Children' hairs appear and allow you to have a better visual on how your hair will turn out in it's final render.
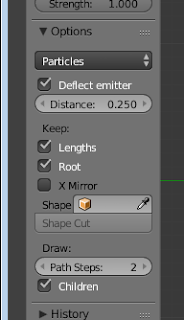 |
| 'Children' selected |
Step 7: Render
When you are finished styling your hair, you may want to render it. To gain a high quality final render, you simply hit the 'F12' key on your keyboard. This will render your scene through the view of your camera in your project. If it isn't in a place that you find particularly attractive, you can move it and rotate it to suit your final render. You can also adjust the lighting settings by selecting the lamp in the project and adjusting the type of light, intensity, etc.
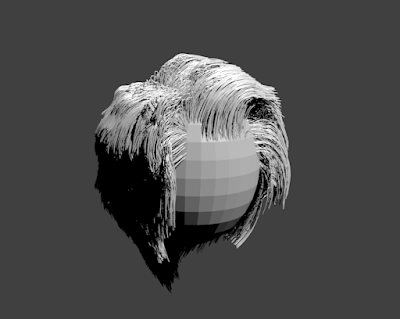 |
| Final Render |
Once you have your final piece, you can use the tools you have learnt about to experiment with different shapes, or try adding materials to your object and hair.
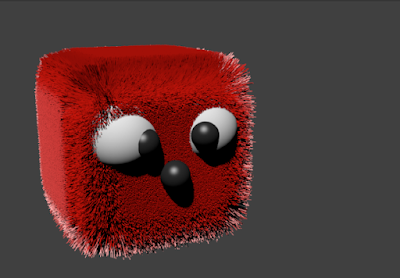 |
| Different shapes |


 Reviewed by Opus Web Design
on
January 29, 2016
Rating:
Reviewed by Opus Web Design
on
January 29, 2016
Rating:


